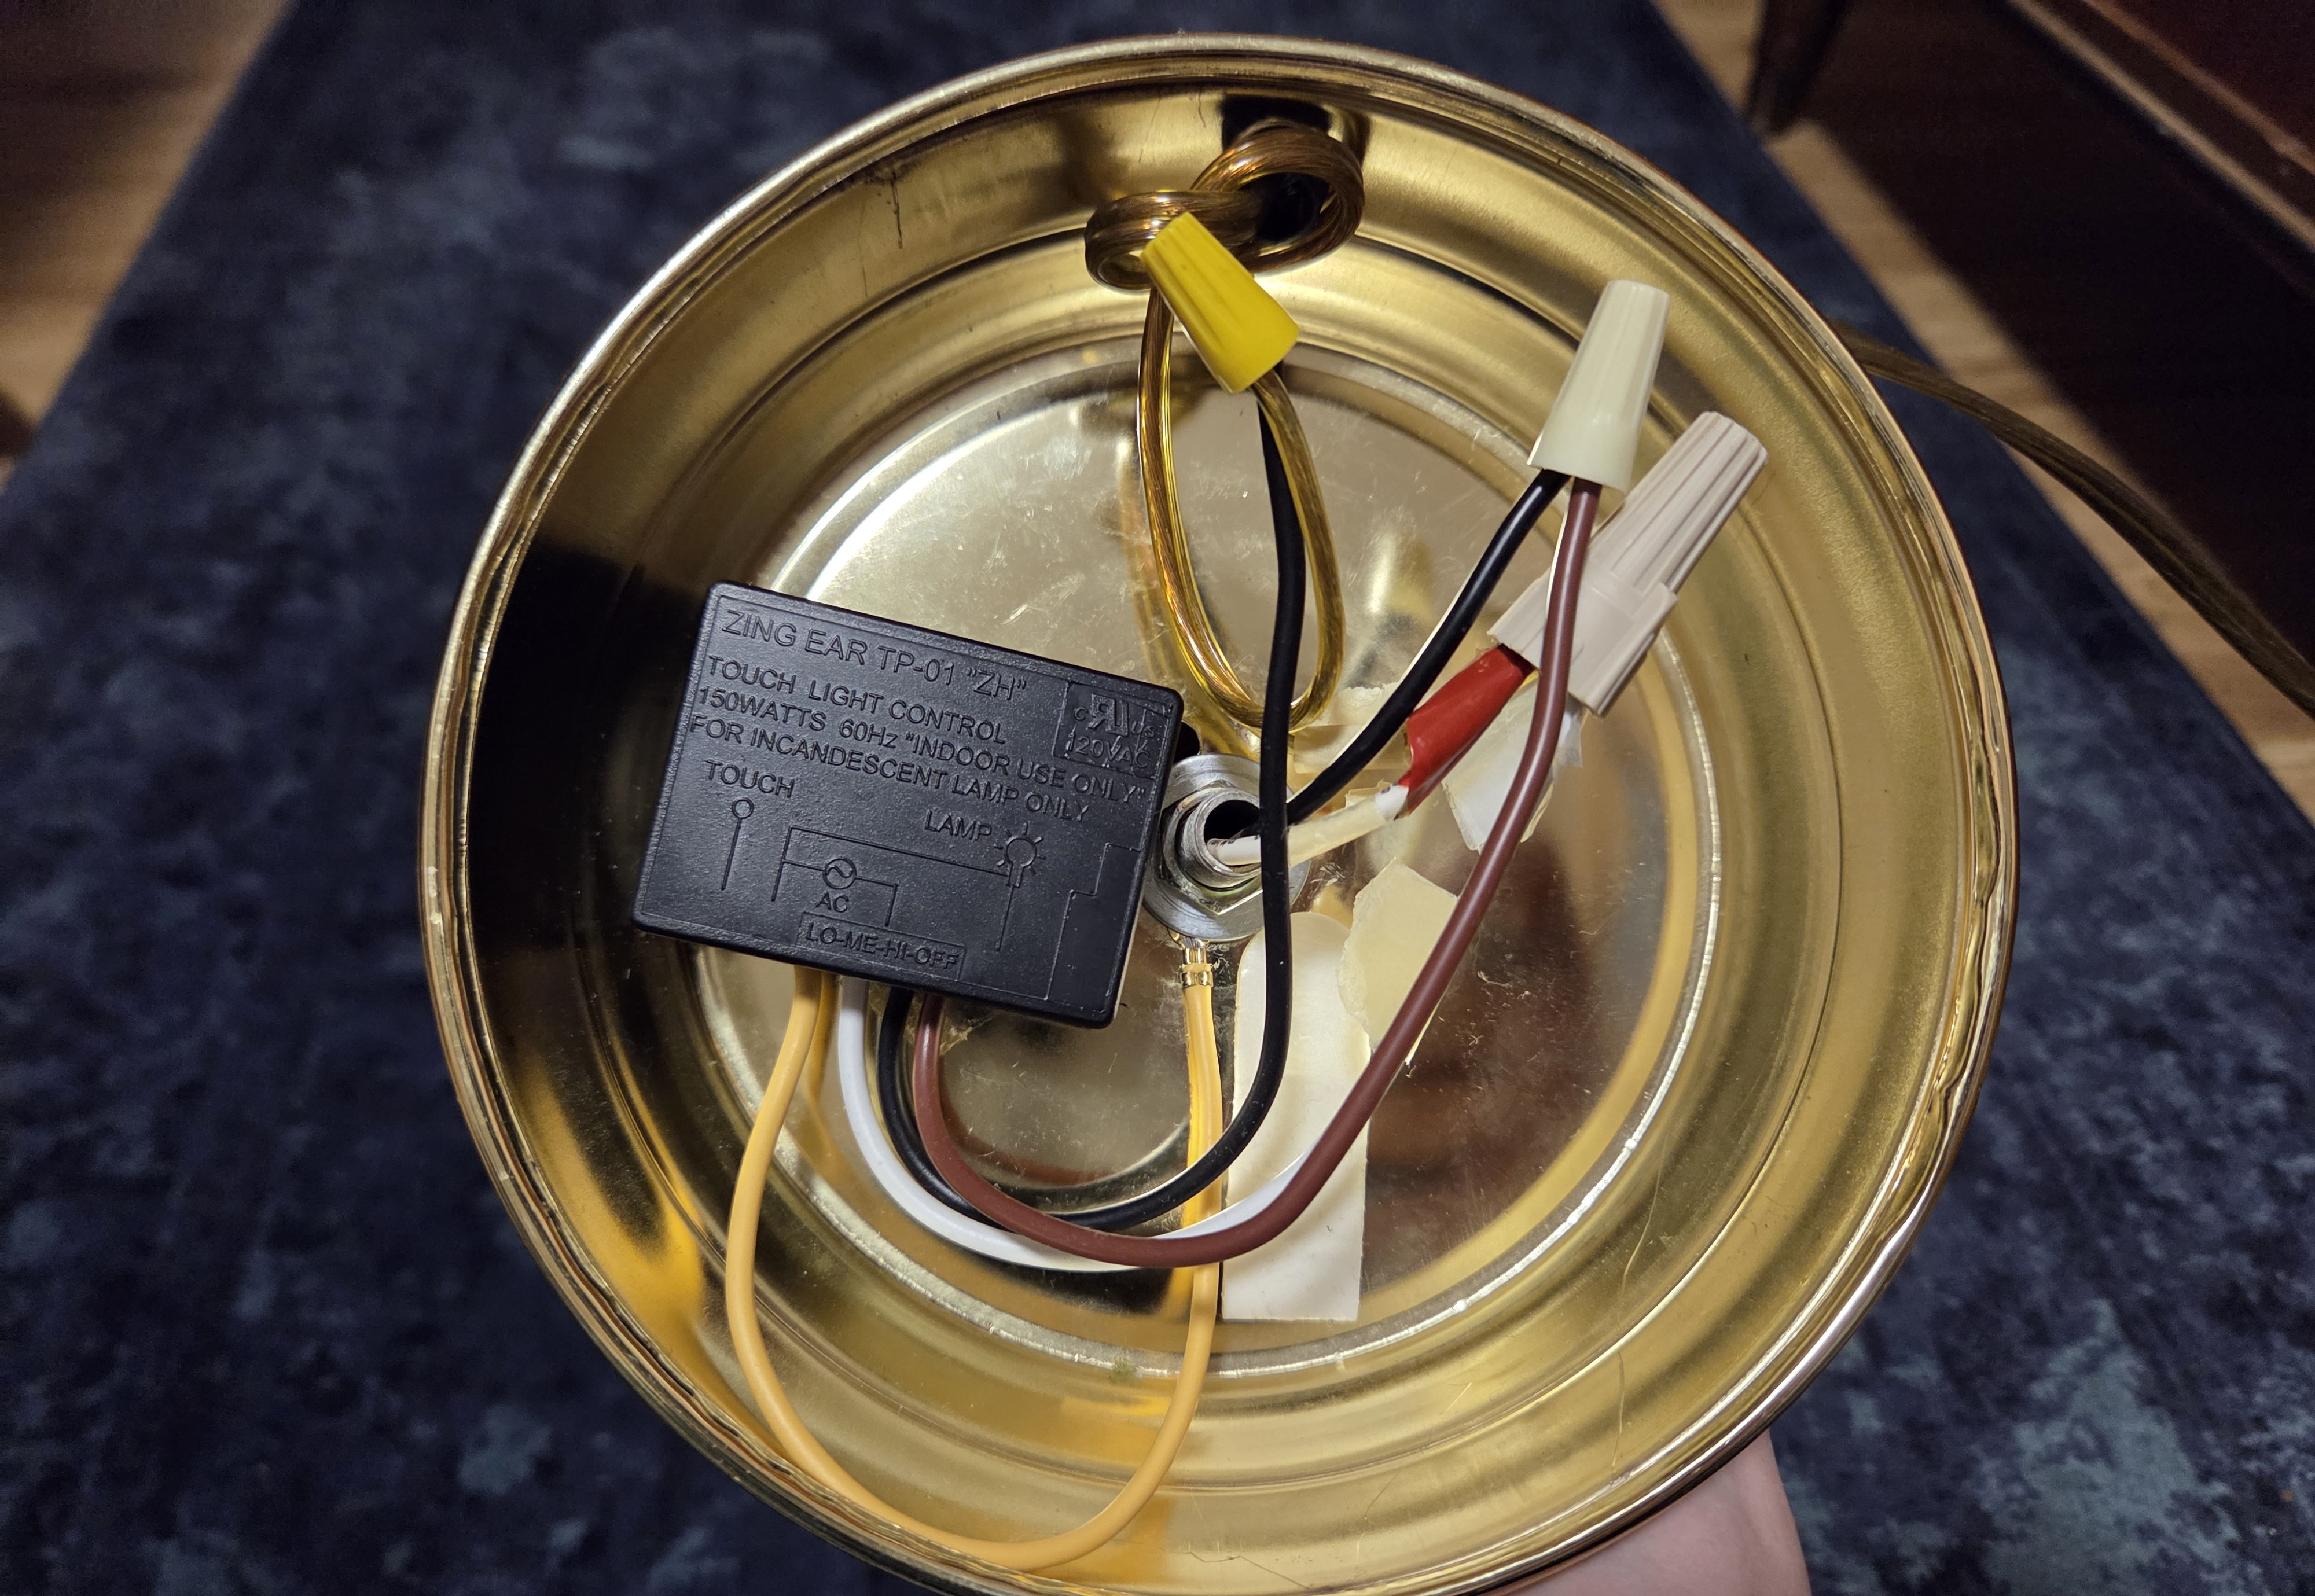
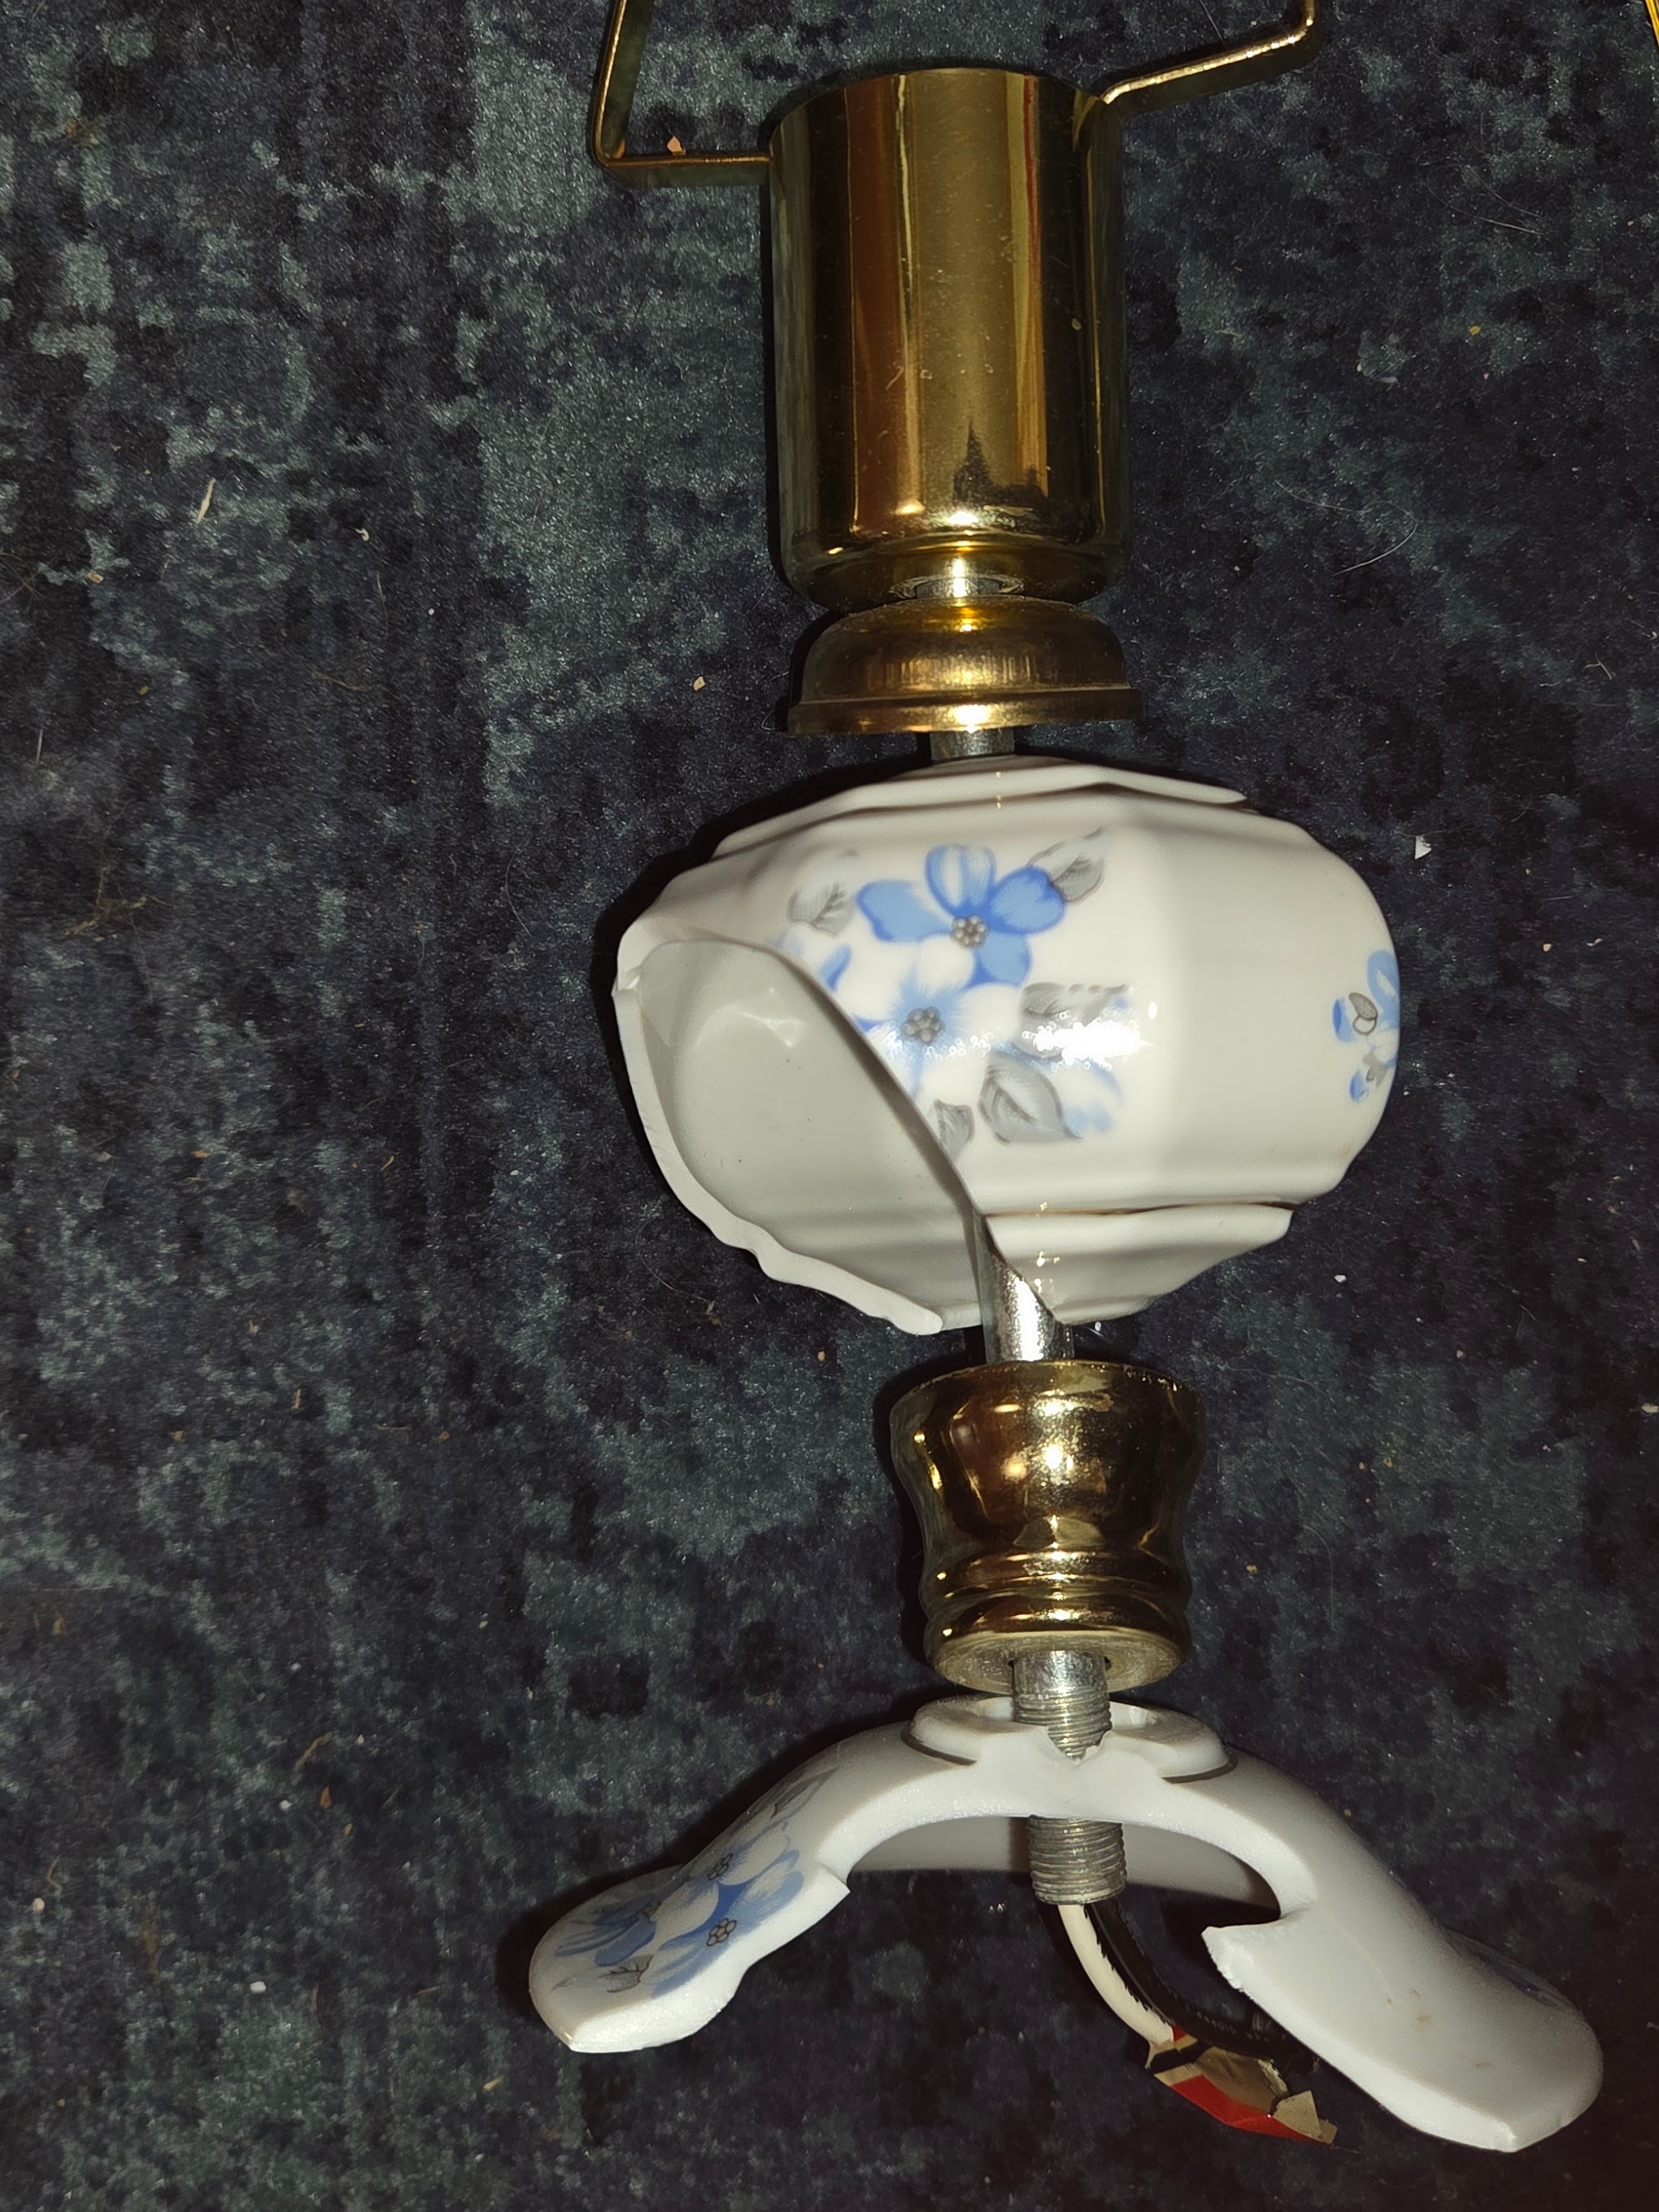
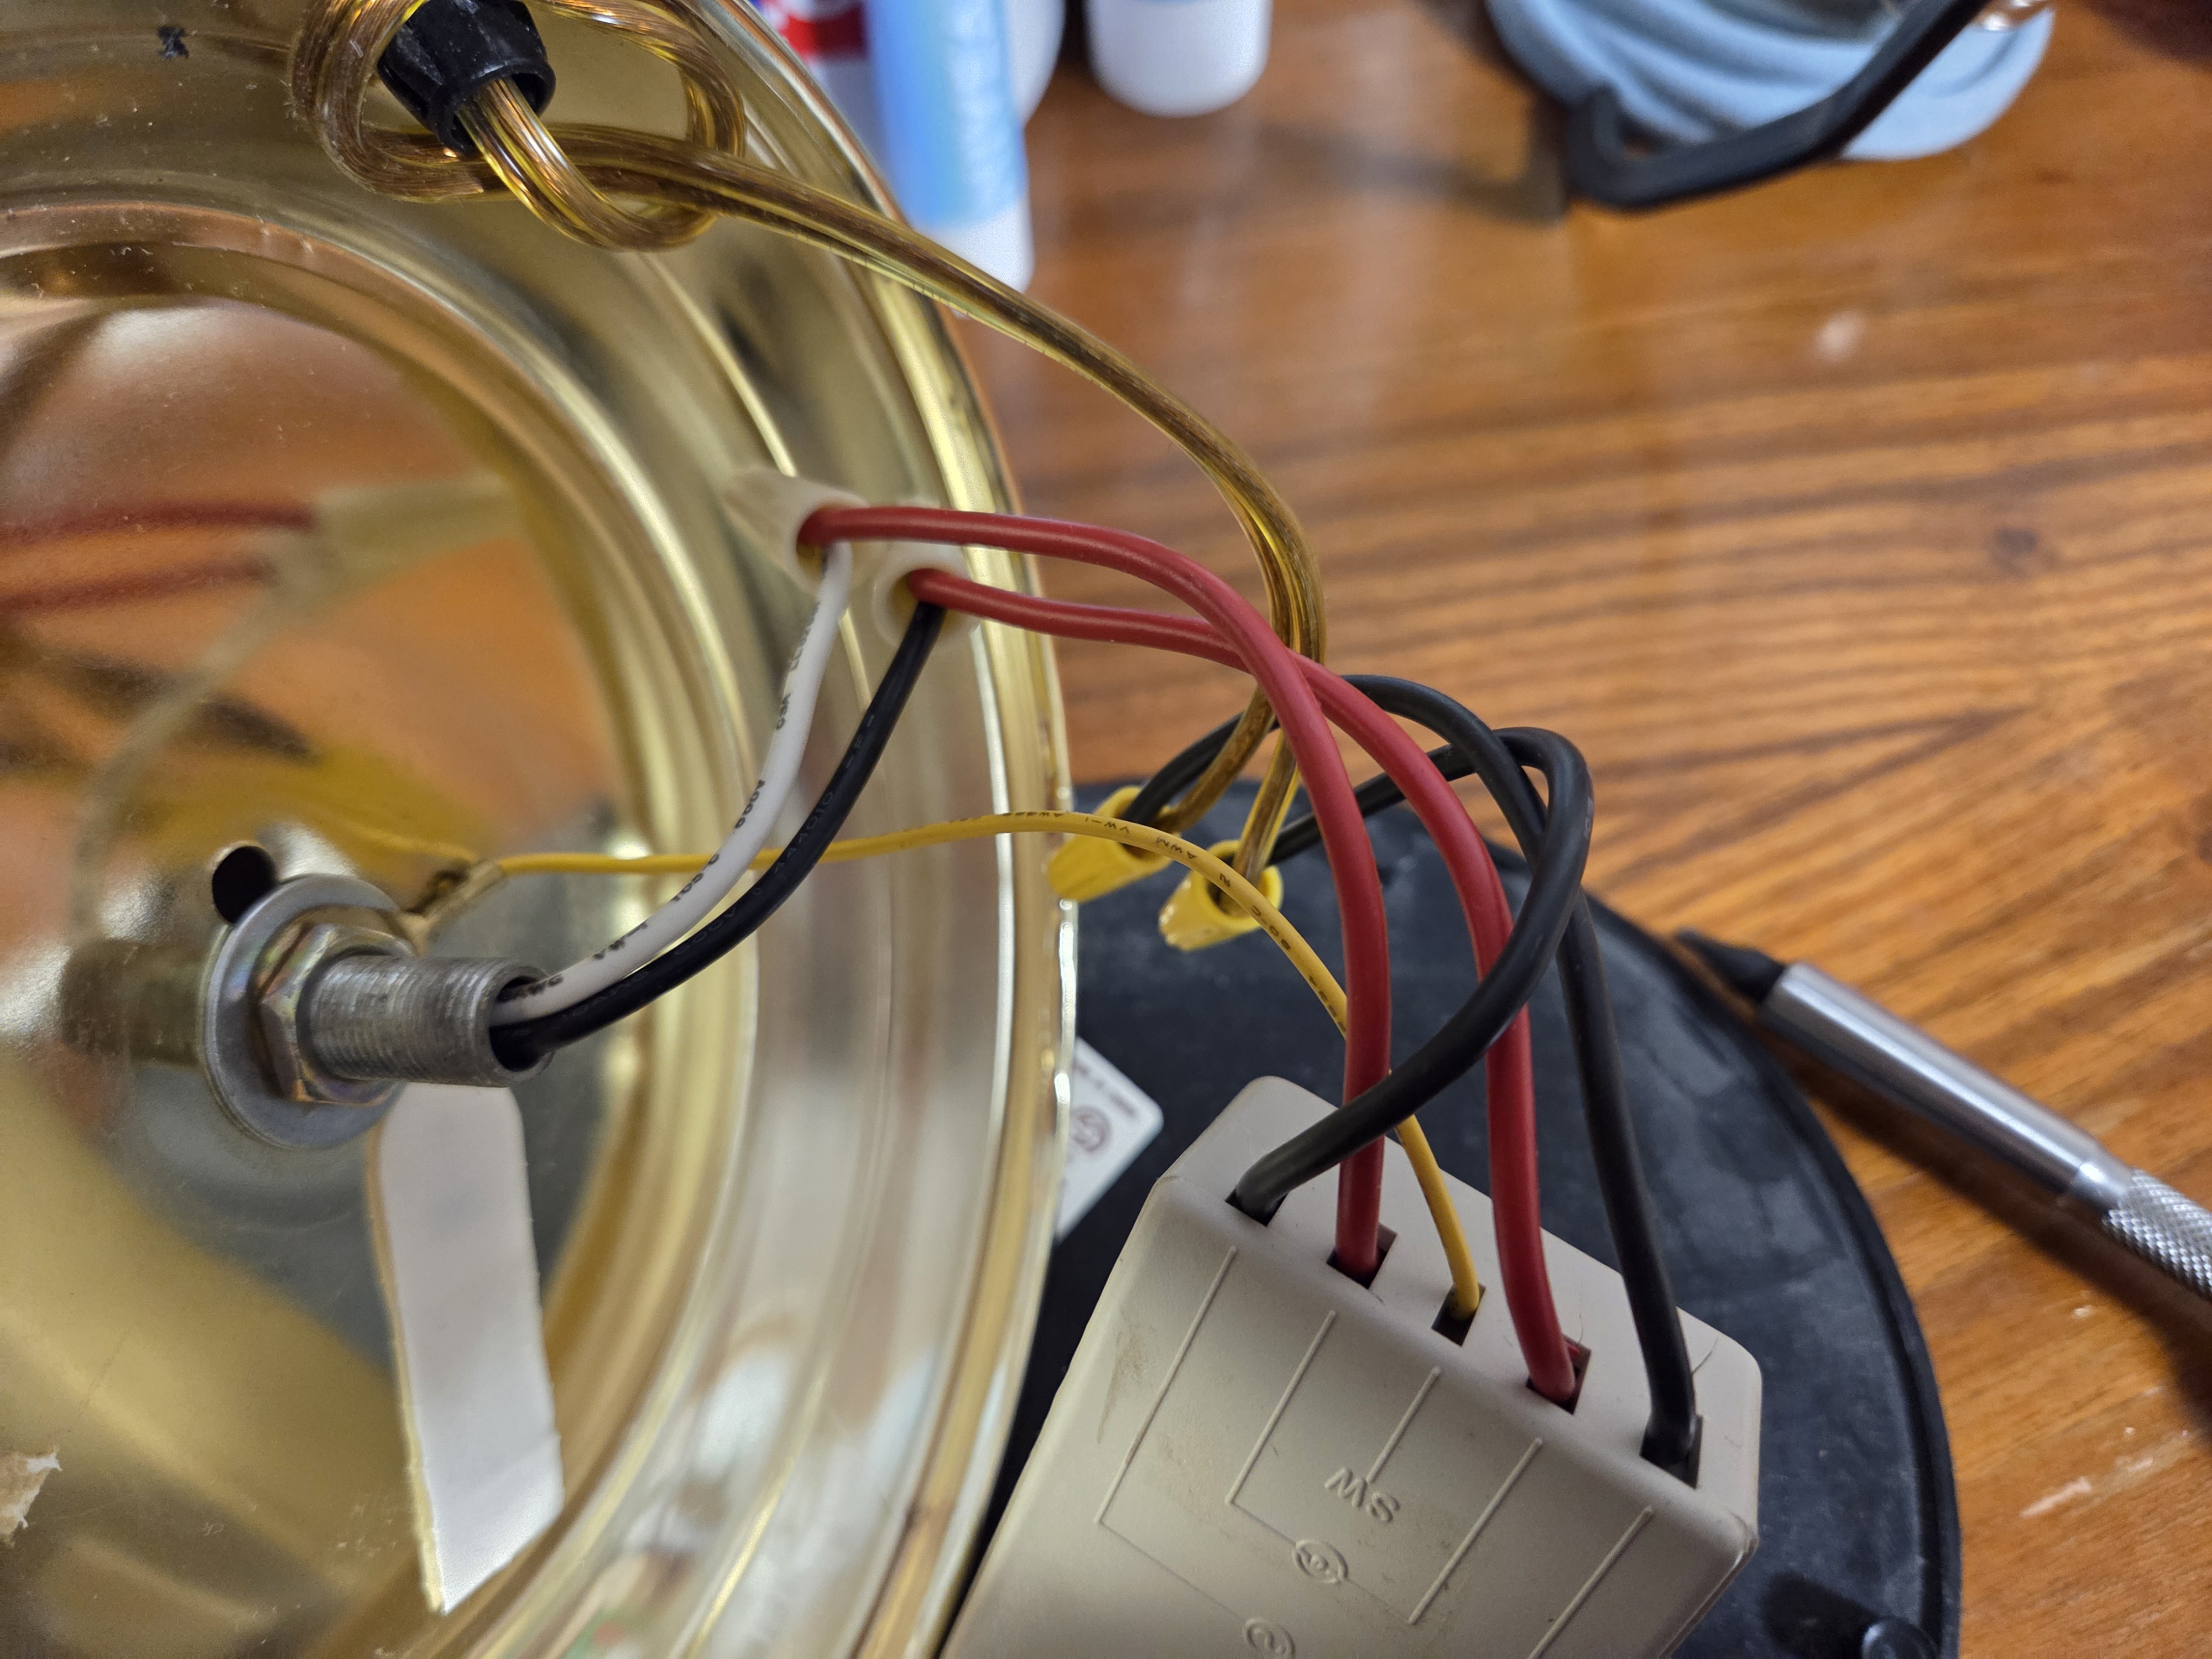
When my grandmother Edith passed away I inherited two beautiful touch-lamps. When I took them into my care they each came with incandescent
bulbs. They worked great for a really long time. Then the first one broke February 2025. It had a bright flash and then went out. It just
looked like the incandescent filament burnt out but when I replaced the bulb and plugged the lamp back in it turned on immediately and nothing happened
anymore when I touched it. This means it was on full brightness all the time with no way to turn it off or dim it. An indeterminate
amount of time later the same thing happened to the second lamp. Both lamps behaved like this
with incandescent bulbs and dimmable LEDs. Naturally, the short term solution was to put the two lamps on a switched power-bar so
I didn't need to unplug them all the time.
The long term solution took me until August since I needed a time when I wasn't swamped with school work
and because I needed to build up the nerve to fix them. I had never done any electrical work before. Since then I have put together
industrial combined panels for 3-phase 400V and am much more comfortable with safely performing electrical work.
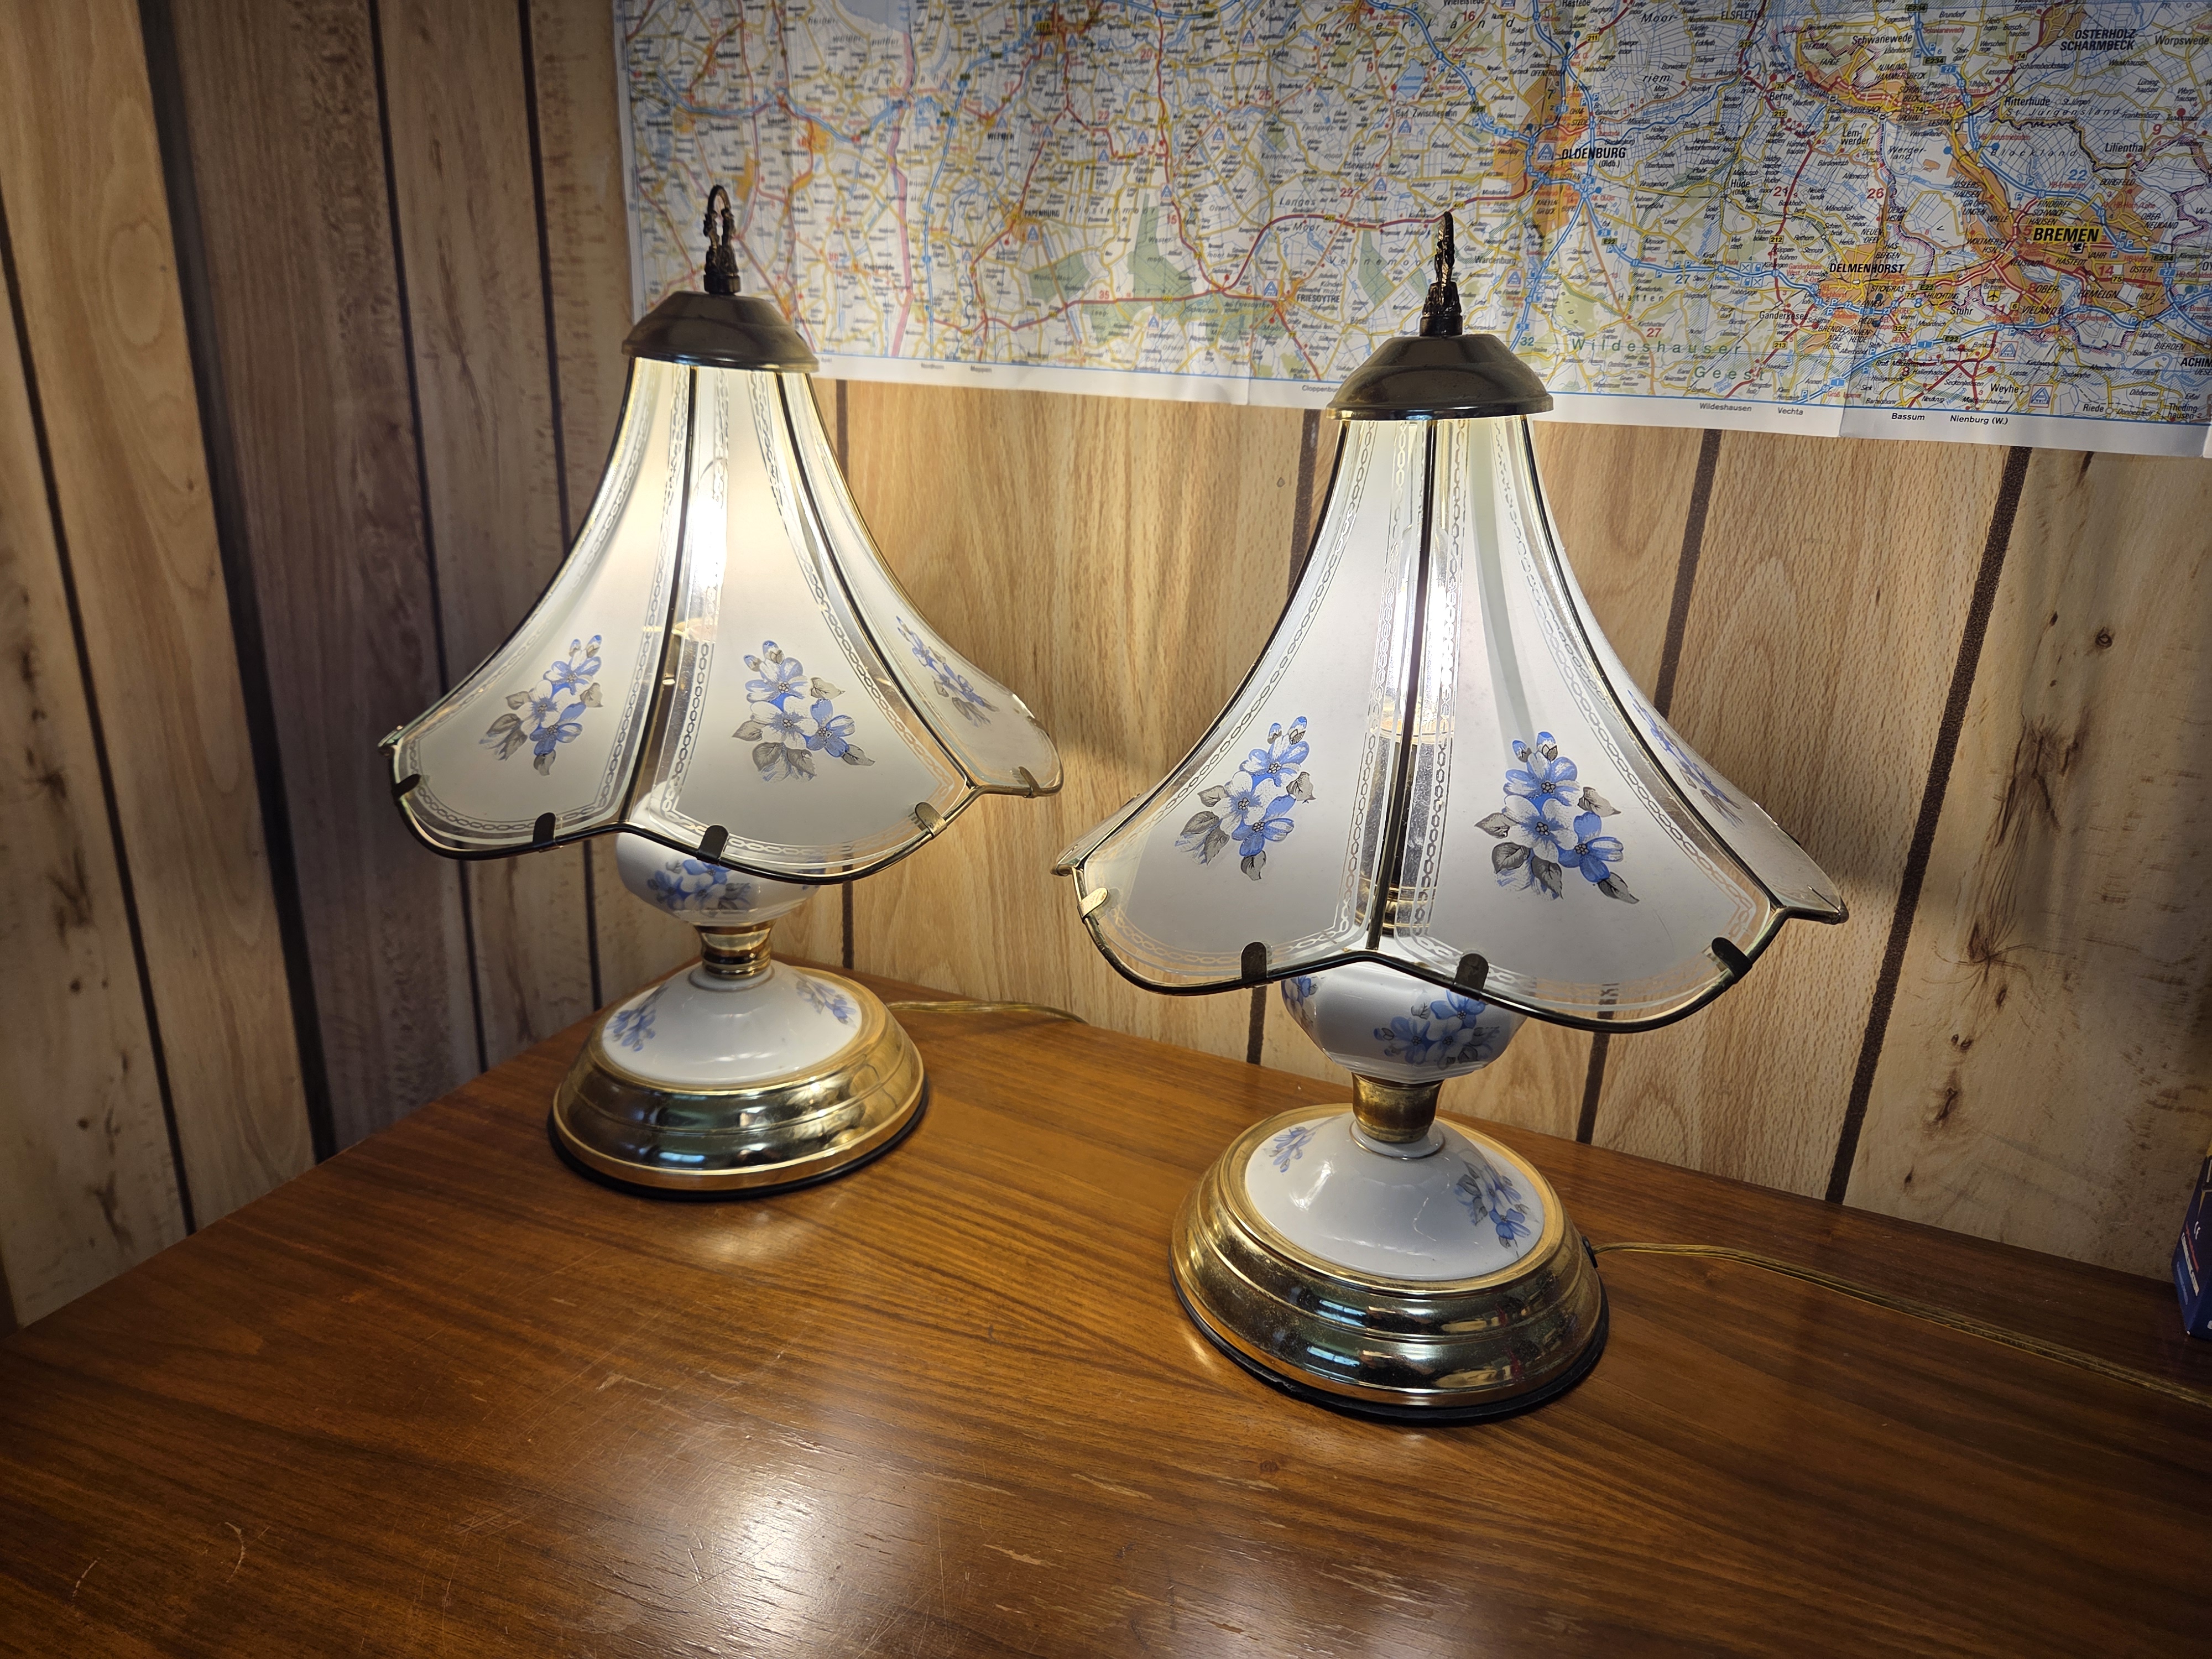
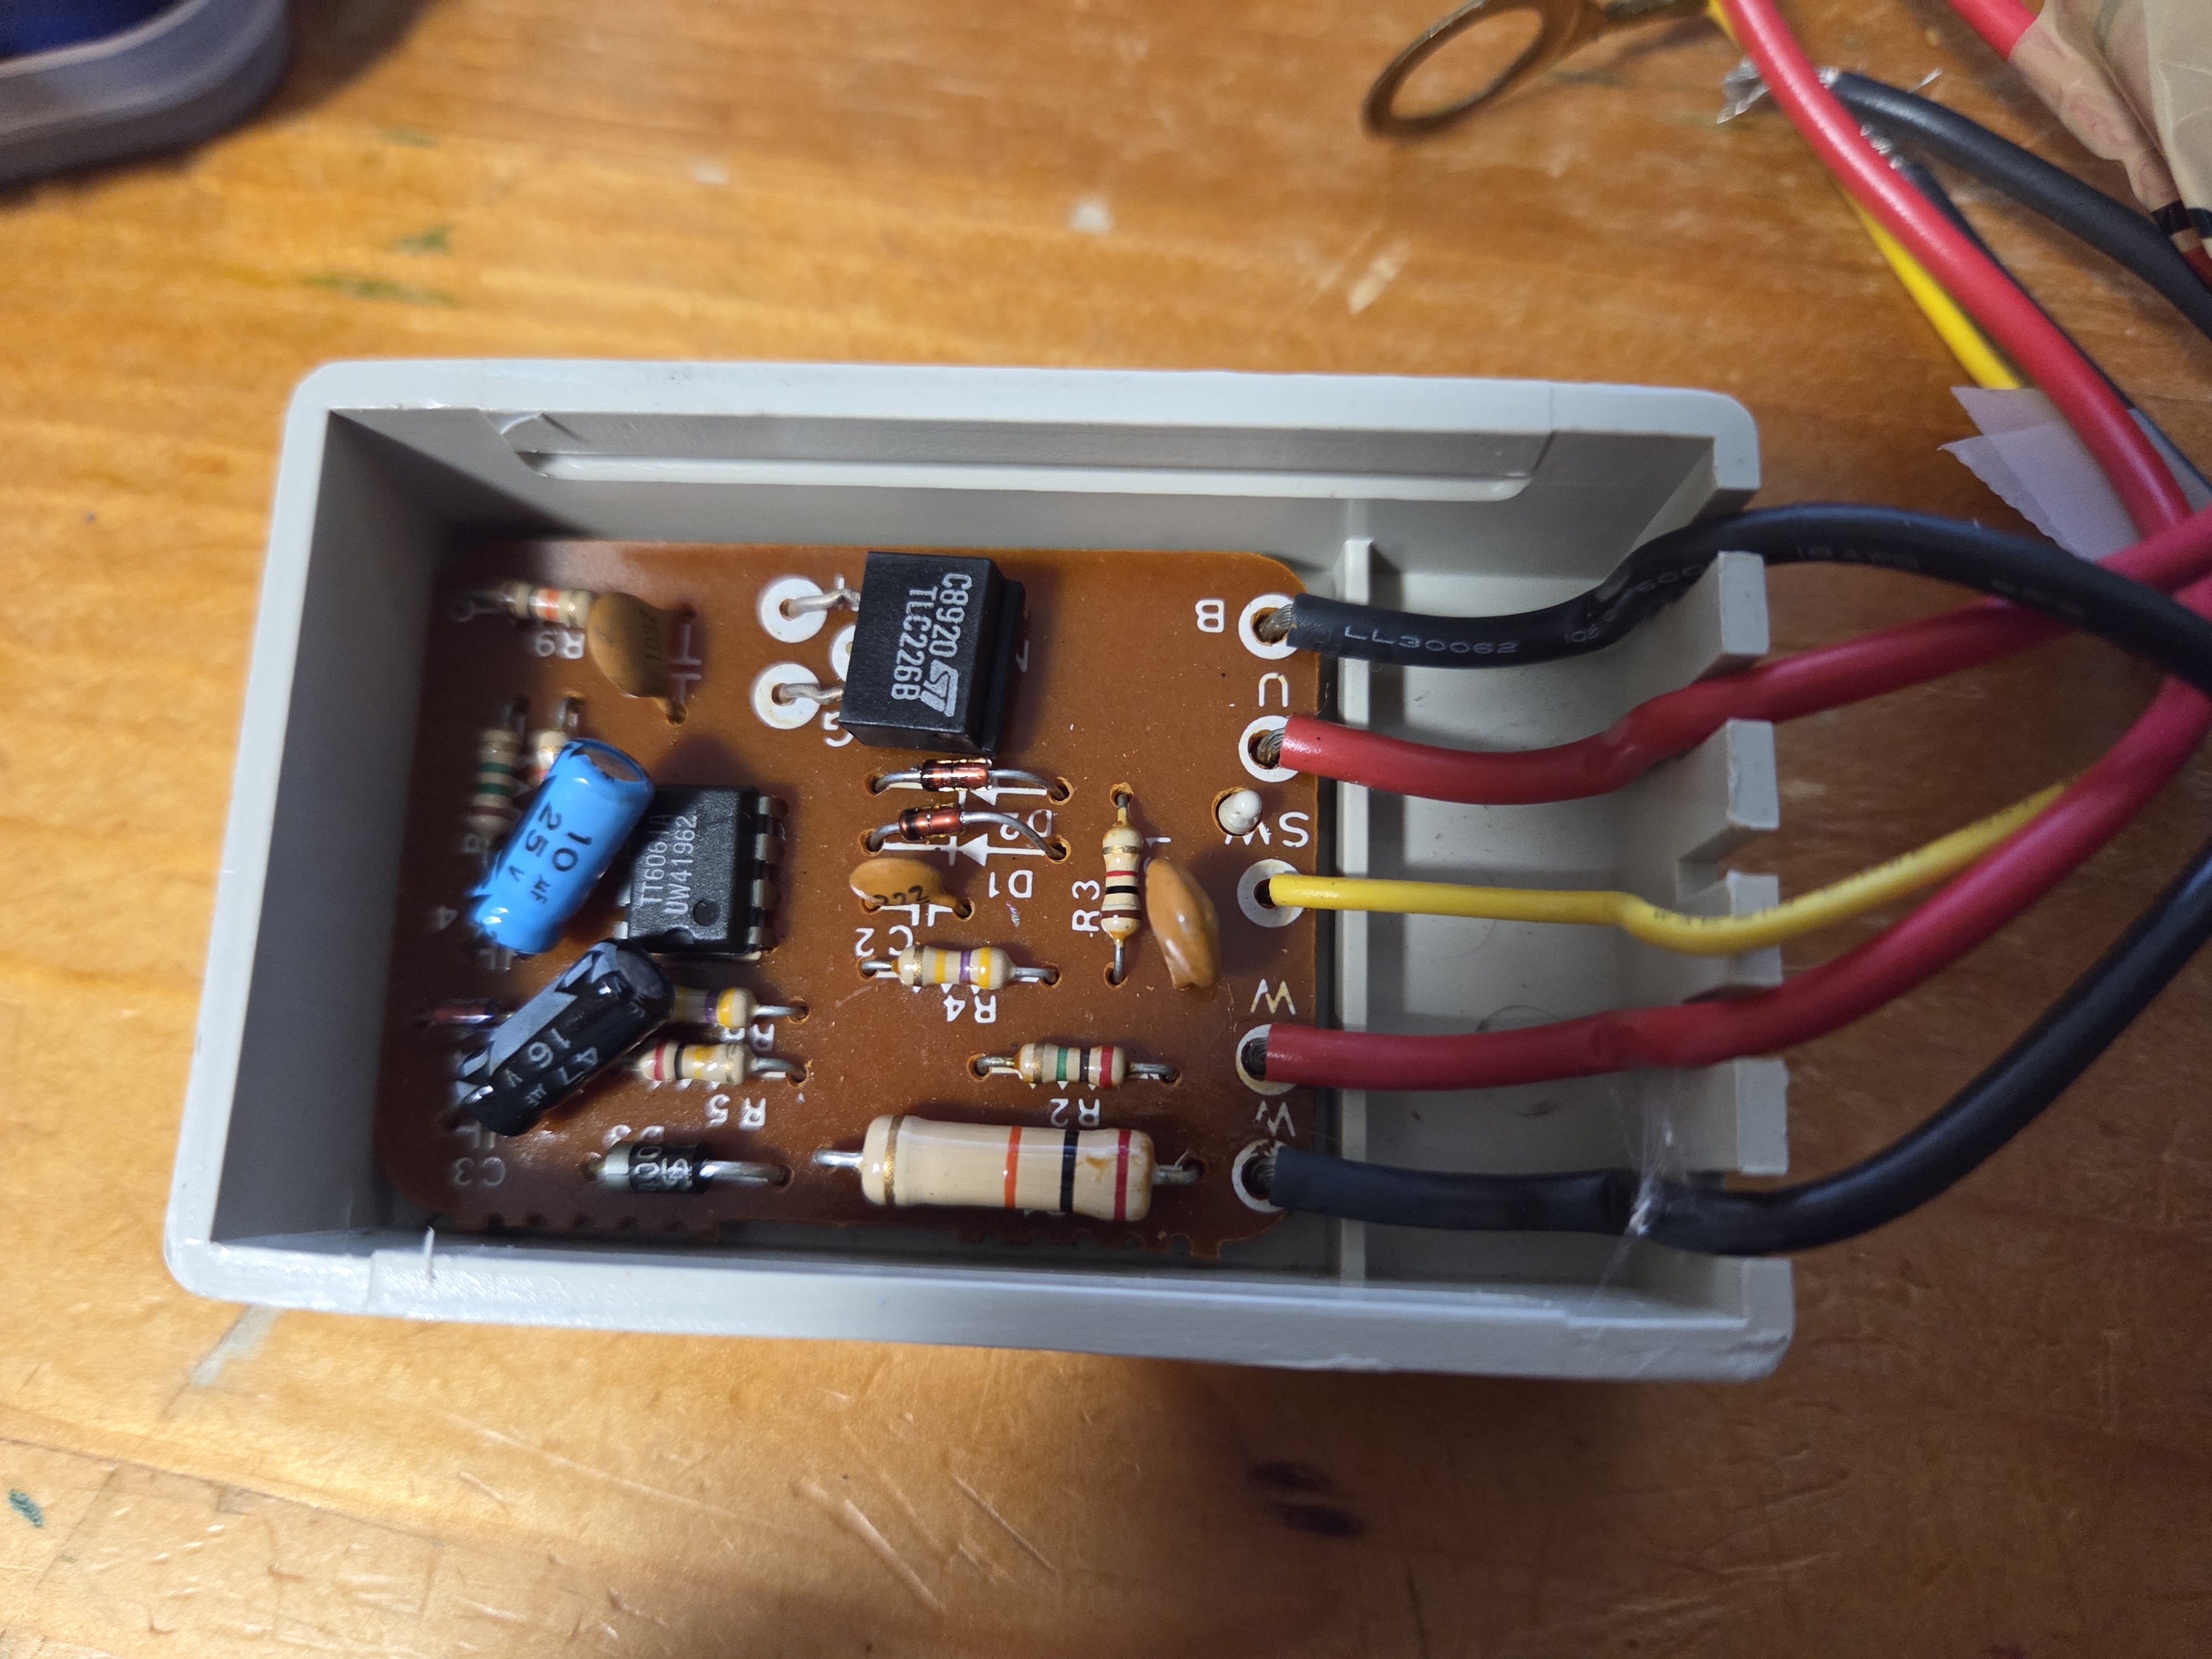
After some investigation I traced the problem back to the electronics inside the touch switch control box. Visually I could see nothing wrong with any of the capacitors, diodes, or resistors. Presumably something burn out in one of the solid state chips. I was not able to find a data sheet or specifications on this touch switch so it seemed the best option was to source replacement switches. Unfortunately, Neutron Electronics closed down in Guelph so I had to try and find somewhere else to purchase these switches. I found Current Electrical Supply and was able to special order in some new switches and I also picked up some additional wire nuts. After a few weeks I got the call that my switches had arrived in store and I went to pick them up. By this time it was September and I had started school again. The replacement sat and waited until the Christmas break for when I happened enough time to perform the repair.
Installing the new touch switch went very smoothly. At first I wasn't sure what to do about the missing wire since the new one only had four leads instead of five. After reviewing the pin out diagram and specs it then made sense why the white neutral wire from the switch needed to be connected to both the neutral of the bulb and the also the neutral from the mains. I made sure to securely attach the yellow sense wire to the metal chassis of the lamp. Any of the exposed metal on the exterior of the lamp is electrically connected. Thus touching anywhere on the lamp on the outside will effect the capacitance that the yellow wire senses. If the change in capacitance has a signal that is greater than the noise gate the touch switch will advance it's internal state machine to the next brightness level. The brightness levels go through the order Off Low Medium High, and then repeat. If power is cut at any point in the cycle, it begins again with the Off state when power is reinstated.